Showing posts with label Hike. Show all posts

Boulder & Denver, CO

The lovely Colorado

I've madly fallen in love with the weekend.

But I'm not talking about all that thrives in our local Instagram albums. I'm saying I've taken back the weekend and turned it in to something more than just two days we use for eating, drinking and playing within the 3-mile radius of our homes.

This is a love for the weekend spent out of town.

Of course, a whirlwind weekend where you get home at 9pm on a Sunday night having not done your laundry or the grocery shopping isn't for the weary. But, if you prescribe to the notion that life should be lived to the fullest, then heck. A teeming basket of laundry is a trophy of triumph.


Travel Tip:
It's important you don't spend too much of your precious time on travel. I say limit "each way" to 4 hours, which means the longest plane ride you can take is 2 hours, the furthest you can go north, south, or east is 120 miles (if you drive the limit). I recommend leaving Friday night so you can utilize Saturday on-location to the fullest, or, if you must, leave super early Saturday morning (no traffic - you'll be shocked how far you get in a matter of minutes).

Pearl Street
Here's how to do Boulder & Denver, Colorado!

Depart: LAX at 6pm, arrive in Denver, CO at 9-ish pm.
Rent: A car. You'll need it, and from Friday night until Sunday night mine cost roughly $50.
Stay: Find a friend. That's what Facebook is for. Or, opt to stay outside of Denver (cheaper) or using Hotel Tonight which lets you score super-last minute hotel rooms for uber-deep discounts. 

Boulder

Visit: Pearl Street is Boulder's "Main street." Coffee shops to restaurants, hiking apparel to high-end duds an everything in between, check out the site for more ideas and to plan your promenade stroll.
Linger
Eat: Oak at Fourteenth 
Drink: Ozo Coffee 
Hike: This site has a cool list of all the local hikes (like a picture menu)
Ski: Eldora Mountain Resort (35 minutes out) or Vail (2 hours out)

Denver

Run, walk, or picnic: Washington Park
Eat and drink: Linger
Smoke pot (it's legal!) plus related news, laws and locations: Colorado Pot Guide


Lost Palms Oasis

Your destination: Lost Palms Oasis
Lost Palms Oasis 

Trailhead: Unnamed road off Pinto Basin Road, Joshua Tree National Park, CA 92277

Type: Outdoors
Category: Hike, Recreation, Fitness
Company: Hikers and Climbers
Cost: $15/vehicle (park permit)
Tip: Make sure to stop at the visitor center to get a park permit for your car (for $15 you get 7 days)

Review: 
Mastodon Peak
Why walk when you can hike, boulder, climb, scramble, run, and view? If you're ever in the area, seek out Lost Palms Oasis. Roughly 7.2 mile round trip, this hike is fantastically rewarding. Make sure to take the slight detour up Mastodon Peak for a 360 view for the miles of surrounding desert.

Tip: Follow the trail and keep going until you get to the Oasis - we found a few of the trail markers to be prematurely misleading, so the best rule of walk is to keep going until you spot the Oasis (it's truly hard to miss a bouquet of gigantic prehistoric palm trees) - which is where the trail literally and officially ends.

Make sure to wear sunscreen, bring water, and most absolutely - a camera of some kind. All cell reception is obsolete once you enter Joshua Tree park, so be careful when you climb and be mindful of the daylight.

En route to the Oasis

This is a great trail. Well-paved with satisfying variation, there's been enough use to mitigate any factor that might get you lost (we did a bit, but don't I always). Desert hiking is a great twist to my usual opt for vertical ascent, as you can go further in a shorter period of time (and get to check out the cacti, snake holes, and the sun setting behind the mountain line). 


Inside the Oasis

Los Liones Hike

Los Liones Hike
W. Sunset Blvd & Los Liones Dr
Los Angeles, CA 90272

Type: Outdoors
Category: Fitness & Recreation
Company: Everyone but your dog
Cost: Free!
Tip: Bring a liter of water, no fountains here

Review:
This is my go-to local hike. Ravenous views of the lovely west-coast beaches and the downtown skyline all in one panoramic, this 7.3 mile hike is perfect for a sturdy workout but fair enough for the most anti-hikers of them all.

Quite simply, it's straight up hill until the lookout point #1 (bench included) at about 1.3 miles from the start. Continue until you hit a junction that points you to the .5 for Parker Mesa - this is the finale to the outlook.

Tip: Bring your camera/phone - amazing pictures are a must!


Mt Whitney/Affordable Hiking Gear


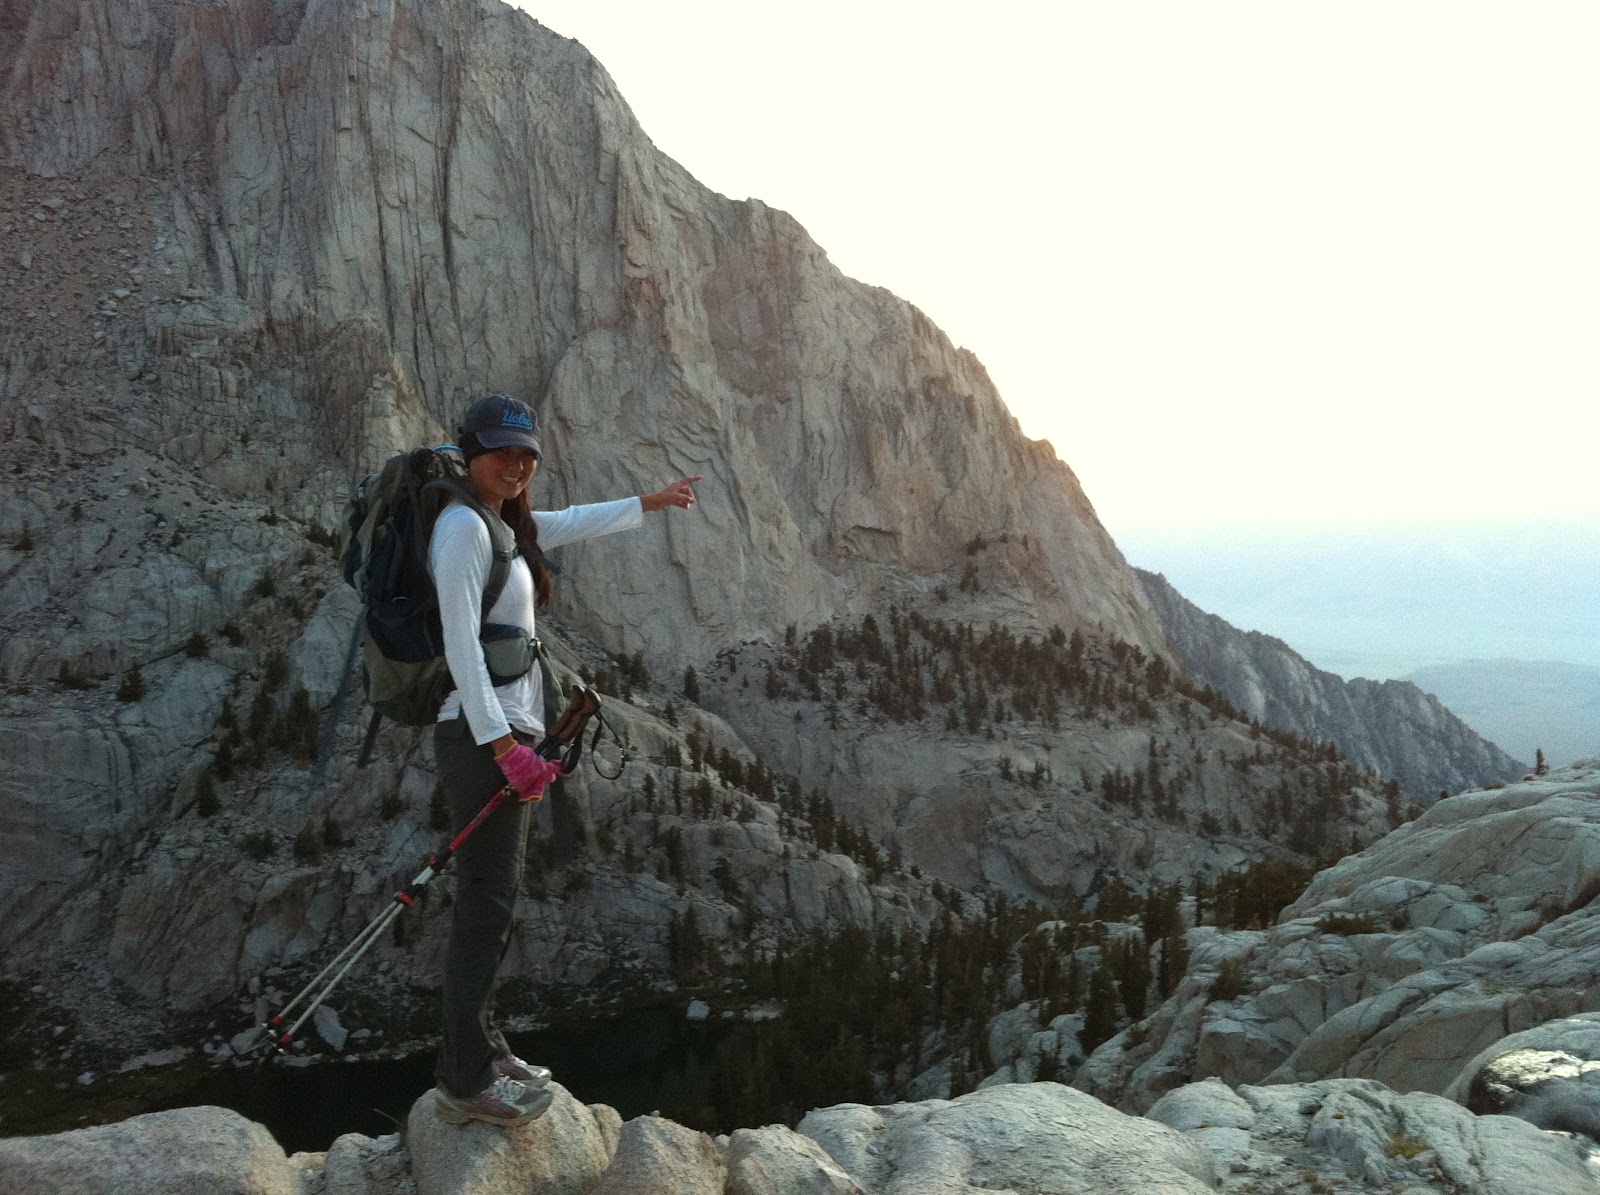
1/3 of the way up Mt Whitney (7am)

Truth-be-told, I never really thought about hiking Mt Whitney until we heard back from the registration lottery that we had a secured a pass.  Then there I was, about a month out from our confirmed date (June 16th), in a state of gear and shape that would (and is) not recommended for successfully climbing the highest summit in the contiguous United States. The longest hike I had under my recent belt was 6 miles. I didn’t have hiking boots, a backpack, poles, or any of the gear and endurance needed to hike 22 miles total and reach an elevation of 14,508 feet.

The first step (literally) was to train. Simply, we hiked, and starting with a local 8 miler we increased the mileage and altitude every weekend. Our second hike was another local 12 miler. Then we checked off real day hikes (Mt Baldy, 12 miles and 10,000 ft elevation) and lastly Mt Gorgonio (20 miles, 11,000 ft elevation). Granted, we had no idea how our bodies would feel over 12,000 feet (typically when altitude strikes with ailments) but we trained what we could control.

All of this, impressively, with only about 15% of the gear we would actually take to Whitney. We had purchased hiking boots early on to break them in, but the school-sized backpacks needed an upgrade. Since most people hiking Mt Whitney in a day spend 14+ hours on the mountain (the average for amateur hikers sans altitude sickness being 16 hours) there is a lot of necessary gear needed for survival. And coming from someone who hiked Gorgonio with two water bottles and a book bag, I'll be the first to admit that the cost and length of this list will make even the most eager and curious outdoor patron cringe and possibly turn on their heels with hands in the air (as I did several times). In addition, there are dozens of even more recommended items that come from blogs, websites, and stores that can further the tizzy: What do I need? How much? Which one? What size? What kind? How Many? Why?

Luckily, there are a number of local and nationwide resources that aim to make getting off (ok, WAY off) the couch as easy as possible. This means that if I can go from six miles to twenty-two, and a Volcom backpack to a day-pack equipped with gear, so can you. Unlike climbing Mt Whitney, which requires training and a strong will, you can easily secure what you need to try hiking this summer without breaking the bank (or cluttering your closet).

Recommended:
Day pack (30L, +/- 10L)
Hydration system (think camel-back or something like that of 3L)
Water filter
Hiking poles (these can be the difference of making it to the top…or not)
Hiking boots, socks, pants, sun glasses, headlamp, gloves, light outer-layers, dryfit shirts and undergarments
Sunblock, bug spray, iodine tablets, advil

There are some items you must buy. Boots and clothes, accessories, and non-reusable items like sunblock are final purchases. The best way to get these pieces is to shop clearance and sale in local stores so you can try things on for correct fit:

REI (nation-wide)
Adventure 16 (Southern CA)

Other items, such as water filters, hydration systems, backpacks, and hiking poles can often be rented. While local retail stores (above) offer rentals, there several online rental stores that ship nationwide for a minimal cost and an overall total that is a fraction of what it would cost to actually buy such items:


Order items for a duration of time (3 days to one month). Pay for shipping and length of rental – ships anywhere in the U.S. Owner Dallas Shewmaker is an avid outdoorsman who started lowergear.com for the exact reason we use it – why buy for a  one-off hike or camp when you can rent? User-friendly and full of advice, Dallas and his team are the epitome of customer service and care.

Sample price: (hiking poles) = $33/MONTH (retail price is over $33 EACH)


Combo store (retail and rental) you can buy your non-refundables and rent items like poles all in one stop.  Also hosts monthly events by experienced trekking employees  to discuss anything from topography to weather to gear.

Sample price: (hiking poles) = $5/first night and $2/every night after (must pick up and return to store)

I ended up borrowing a backpack and filter from friends, renting poles, and buying everything else. I probably spent a total of $180 on gear and clothes, which would have been closer to $300+ if I had actually bought everything I needed.  And yes, we made it to the summit of Mt Whitney – and you can too (or any of the sister mountains) without spending too much out-of-pocket.

Mt Whitney Summit

Switzer Falls Hike


Switzer Falls - Angeles Forest
Trailhead: From the 210 freeway, take highway 2 10 miles north.  You'll see a small ranger station about a 1/4 mile before the parking lot for the trailhead (Map here). 

Type: Outdoors
Category: Hike
Company: Friends, Dogs
Cost: $5 vehicle fee (more on that later)

Review: While somewhat of a trek depending on the starting point, the drive is worth it.  From the main trail, there are multiple trails that break off, a little bit of everything for hikers of all skills.  The Bear Canyon hike has 600 ft of elevation gain over 4.5 miles (round trip), while Upper Arroyo Seco is slightly longer at 10 miles and 1400 feet of elevation gain.  Both trails begin at the main parking lot.

Parking is $5, but I arrived after 3:00 PM on a Saturday, when the ranger station was closed, so I just parked and wished for the best (no ticket).  While I would never condone attempting to sneak past Park Fees, it is something to keep in mind. 


OTC Tip:There is a main parking lot right off of Highway 2.  Avoid it.  Follow the sketchy looking road down the mountain (I would generously call it a lane and a half wide).  There is ample parking at the bottom.  I love an uphill hike as much as the next person, but when it is on a paved road to get back to a parking lot, I'll go ahead and skip it.  Save yourself the trouble and follow my lead.


The trail itself is mostly wide, enough to comfortably walk next to a friend or two.  There are numerous sections where balancing over rocks is needed to cross streams, which adds to the fun.  Even on a nice day, the trail was chilly, so bring a jacket.  These trails are a great way to spend a sunny afternoon in LA, with friends and/or a dog. 


Corral Canyon Trail


Corral Canyon Trail - Malibu
Trailhead: You can access the the trail via part of the Backbone Trail that starts off of Latigo Canyon Road.  There is a parking dirt parking lot located on Latigo between Newton Canyon Rd and Upper Ramirez Mtwy (map here)

Type: Outdoors
Category: Bike, Hike
Company: Friends
Cost: Free!

About 40 seconds into my ride on Corral Canyon, I was already yelling back to my buddy that this was the best trail I've found in LA - and many sites, including Trails.com agree with me).  The trail has everything - hard switchbacks, dry riverbeds of softball-sized rocks, big drops, tree-covered canopies mixed in with wide open riding - a little bit of everything, keeping the adrenaline high.  The elevation change is fairly minimum, meaning you don't have to worry about spending half the ride silently cursing the slow climb back up.  My heart rate and thrill level stayed high throughout the ride.

OTC Video: Thanks to the my new favorite toy - a GoPro Hero - I was able to record most of my ride. A quick highlight from the frame mounted view:


Getting to the trailhead isn't half bad either - the short ride from the Latigo Canyon parking lot is a blast.  A bit hilly at times, it offers some fast riding.  After about 1.4 miles, you'll hit a fireroad (Newton/Cessna Mtwy).  After enjoying the amazing view, drop in on the trail on your right.  (Note that after a minute you'll hit a slight fork - go left down the mountain.  The upper/right path is for hikers.)  The trail will hit another fireroad after 2.6 miles.  At this point I turned around and headed back (I had already turned out an hour and a half of biking earlier in the day, otherwise I would have had to be dragged back to the car). 

OTC Tip: Despite the relative middle-of-nowhere feel to the trail, you will most likely run into a handle of other bikers (hopefully not literally).  This single-track is just too perfect to stay empty, so be always be on the lookout, especially around the fast blind turns. 

For a specific route of the trails, I used the MotionX GPS app.  Its cheap and offers simple outputs, as well as a map of the route.  Note that the mileage and time aren't completely accurate, as I left it running while taking camera and water breaks (and also forgot to turn it back on a few times), but the basic info is included on the linked map.